Pages

Jul 16, 2012

Tilda with winding flowers


Hello Stampers!

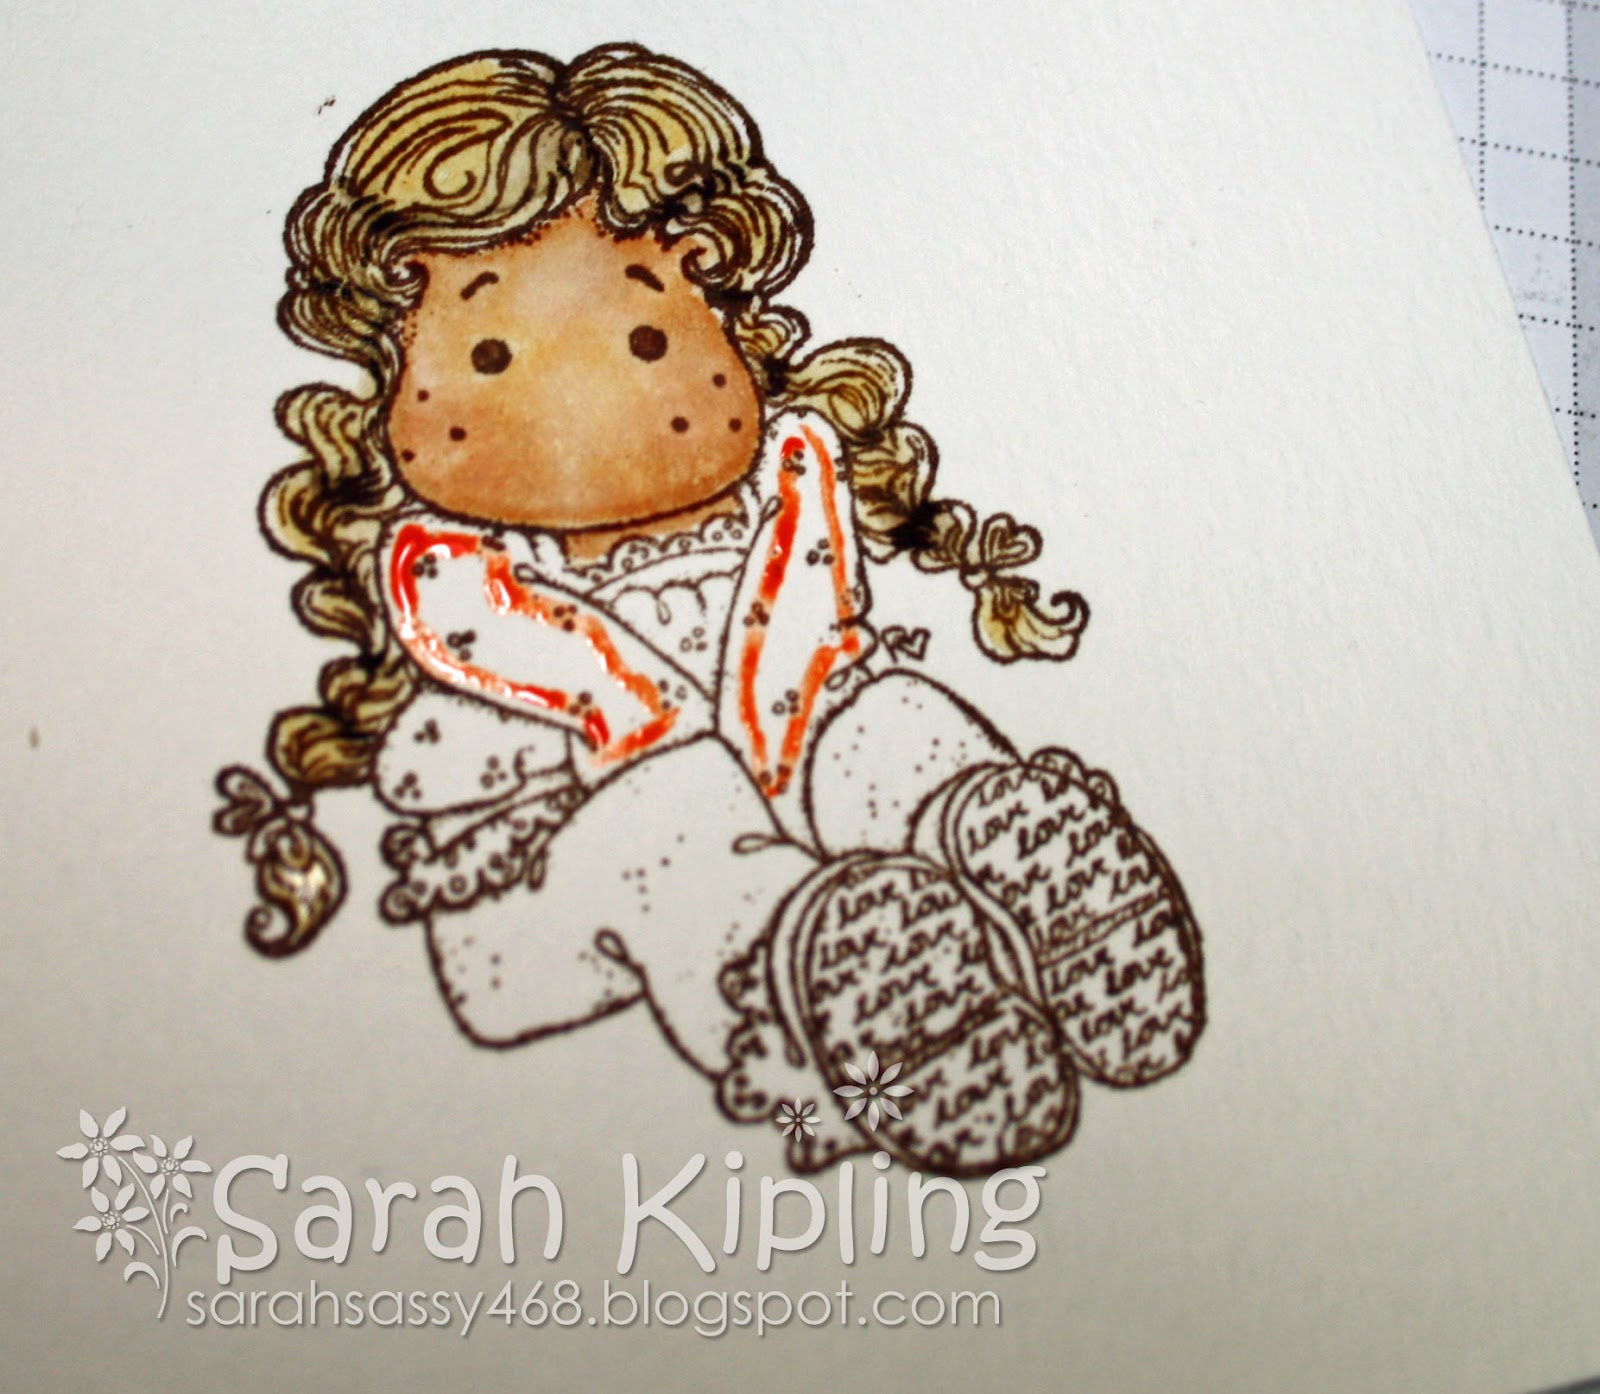
Here is another Tilda card I made with a Magnolia stamp.  This is from a class I taught last week actually.  I've coloured Tilda with my Copics.  She's accented with the Copic opaque white paint and some Atyou Spica glitter pens.  The paper is from Bo Bunny Little Miss (my latest absolute favourite!)

Happy Stamping!
xx

Jul 9, 2012

Memory Box Dies


Hello Stampers!

I wanted to share some projects with you that I made with a new Memory Box Die.  If you haven't heard of these dies yet - you have to check them out.  

These strip dies punch out a beautiful pattern from a paper - that you can then overlay onto another paper!

OR - as above - you can use it as your own mask! 

So here is another card I've made with the same Memory Box Strip Die.

By the way - Memory Box also make GORGEOUS stamps.  I've used this one on my first card above.


SO much fun!!  

Happy Stamping!
Sarah
xx


Jul 2, 2012

Magnolia love and Spellbinder storage


Hello Stampers!

Here is one of many Magnolia cards you'll be seeing from me if you follow my blog.  I ADORE my Magnolia Tilda stamps. I just love colouring these stamps, I really do.  I think they're awesome with my Copics - or with distress inks.

This little lovely is Flip Flop Tilda from the new 2012 Summer collection.  I've stamped her in Memento Rich Cocoa ink  (by the way - have you seen all the new colours of Memento?  WOW!  LOVE!) and coloured her with my Copics.  I've accented with the Copic opaque white paint and the Atyou Spica glitter pens (I ADORE these!!).

This paper is one of my recent loves - Bo Bunny Little Miss.  Isn't it just beautiful?  The sentiment is from the sticker pack.  I just LOVE a line with coordinating elements!  Ahh - yet another 6x6 pad that I'll be buying in triplicate.  Yummy!

The flowers are another awesome find lately - these beautiful fabric, glittery, shimmery flowers from Petaloo!  These ones are Velvet Hydrangeas.  

My card is made with Bazzill card stock.  And I've used a Spellbinder Nestabilities die.  I've inked up the central image with some Tim Holtz distress ink in antique linen (my go-to colour for sure).

On the topic of Spellbinders - thought I'd share with you my latest happy storage item!

This is the before shot of how I stored my Spellbinders dies (of which I have many)
Now here are some of my dies in their new happy home!
This is an ArtBin Magnetic Die Storage Case and I think it is just fabulous!

Happy Monday!

Sarah
xx


I'm entering this card for the following challenges:
Marker POP
Make it Monday
Crafting when we can

Jun 24, 2012

Crazy for Challenges


Hello Stampers!


Here's a card I created for this week's Crazy 4 Challenges!  This week is a super fun sketch challenge.  I always love some inspiration to start off my card.


I've used Bo Bunny Sweet Tooth paper & stamp set - borrowed from my BFF Andrea (thank you Andrea!).  Somehow stamping supplies borrowed from a friend are much more interesting than your own, right?


I've distressed all my edges with my Tim Holtz distress tool.  And I've used some fun new fairy dust glitter (I love the little salt shaker!).


Happy Sunday!


Sarah
xx

Jun 11, 2012

almost Father's Day


Happy Father's Day .. well almost!

Here is a card I made for my Copic cards class last week.  I love these seniors stamps - so fun.  The sentiment is from Paper Smooches.

I stuck with a colour scheme here - was going for something kind of masculine.  The paper is from My Mind's Eye, On the Bright Side - Two.  It had some great patterns and colours for men.  I used some plain hemp cord so it wasn't too feminine.  And I roughed up edges and added some distress ink.  I used Liquid Pearls to add some detail to the paper.

I coloured these all with my Copics - and added some Copic opaque white paint for accent/ highlights - one of my new favourite things!

Here are the other two cards we made:


Happy Stamping!

Sarah
xx

Jun 6, 2012

Clean & Simple Card Making - Day Two


Lula's Happy Valentine


Hello Stampers!

I love making Valentine's cards, even though I don't send very many.  It's such a nice, bright change after all the snowmen and Christmas cards.

I saw this little cutie at SGD and couldn't resist her.  I've always loved colouring CC Designs with my Copics!

I've used my new favourite Valentine's paper, "Love Me" by My Mind's Eye.  SO adorable - and on trend - with banners, chevrons, and text!

I also used a lace doily stamp from this beautiful stamp set.  I have the matching 6x6 paper pad for it as well, and it's beautiful.  It has music sheets in it!  My fave!

I've stamped Lula on XPress It with Memento Tuxedo Black and coloured her with Copics.  The sentiment is also from CC Designs in this Valentine's Set.

I used a white paper doily from my stash, and sprinkled around some self-adhesive pearls from SU!.  I've inked around edges with Tim Holtz Iced Spruce from his Christmas set. 

My son Samuel loves to craft with me, and has his own little spot in my craft room (Bless!).  Here is his version!  I don't let him use my Copics, so he colours with his pencil crayons.


Happy Valentine's!
Sarah
xx

Jun 3, 2012

Father's Day card


Happy June!

Here is a Father's Day card I made for the class I'm teaching this Thursday night.

I've used one of the fabulous Art Impressions "Golden Oldies" stamps.  I have received more comments on my old ladies on the beach card than any other card!  CRAZY!  

This is Earl!  I've used My Mind's Eye "On the Bright Side -  Two" 6x6 paper pad.  I've used Tim Holtz Stampers Anonymous "Warehouse District" stamps on the background as well as Paper Smooches for the sentiment.

I've coloured Earl with Copics and accented with some Atyou spica pens as well as some Copic opaque white paint and some liquid pearls.  I've used Distress Inks for accent in antique linen, old paper, and brushed corduroy.  The sentiment and image are stamped with Memento in brown.

Copic colours: 
G29, G24, G21, G20
E74, E71, E70
W6, W4, W2, W0
E13, E11, E50, BV00

Jun 1, 2012

High Hopes new release blog hop!

Welcome to the High Hopes blog hop!


I'm joining High Hopes for release day!!


To celebrate, High Hopes has a blog hop showcasing many of the stamps that are on now available!!


Hop along the blogs to see what the fantastic Divas have created for your inspiration!


There is candy along the way. You won't know where so you need to leave a comment on each of the blogs to make sure you have a chance at the prize!


The blog hope will run through 7pm Monday, June 4th with the winner of the candy announced on Tuesday.


Oh, and the stamps are now available in the High Hopes Website and at some retails stores.


This is the last stop on the blog hop - you can start from the beginning here.


Enjoy!


Sarah


xx

May 26, 2012

Tilda's family


My brother and sister-in-law are expecting their first baby this summer, a little girl!  I made this card for them.  SO much fun to use some pink!!


May 24, 2012

Watercoloured Tilda


If you read my tutorial earlier this week - here is Tilda all finished up!


Sarah
xx


May 22, 2012

Tutorial: Water colouring Magnolias with Distress Inks


Hello Stampers!

It was a beautiful Victoria Day long weekend here in London.  Unfortunately I didn't see much of it, as I was inside with a sick child.  But I took advantage of the time to write a little tutorial!

I will be teaching a class at SGD on May 31 where you can learn this technique in person!  In the meantime, here is a pictorial view.

First - here are my tips for starting out!

1.  I use the distress ink refills - but I have also enjoyed doing this technique with the distress markers!  They will do the same thing for you - with the advantage of being more portable, and less messy.

2.  I use the Tim Holtz palette - and I have a drop of refill in each spot - and line it up with my colour chart.  Having this colour chart in front of you is very important!

3.  I use a variety of brushes.  Mostly, the Tim Holtz detailer tip water brush.  I also use a number 0 paint brush and a number 00.  The Tim Holtz broad brush is also handy for backgrounds.

4.  I use watercolour paper.  There are MANY on the market.  I buy mine at an artists supply store and it is 140lb cold press.

5.  I stamp my image using Versafine ink, in Sepia.  I have also used Ranger Archival ink which works well too.  I like the sharp detail of the Versafine.

6.  I also keep beside me a pot of water, some paper towel, and my heat tool.  This Ranger heat tool is AWESOME.  I keep it plugged in beside me all the time.

OK - here we go!

Here is Tilda with Lovely Lace Shoes, stamped in Versafine Sepia - on watercolour paper.


First I colour all the skin.  With a damp brush, pick up some tea dye ink (or apply directly from the distress marker) around the face/ skin area.


Dab all the ink off your brush onto paper towel, and using a damp brush - blend out the ink into the skin area.


Here you can see the first coat of tea dye - almost completely blended out.  The first time you try this, you  may find it tricky - and may not like the result.  The nice thing is that you can add more water - and dab up the colour with a paper towel.  Just leave to try and then try again!

The key is knowing your brush - getting the feel for "how wet is just right" and how much ink you have on your brush.  Try it out on a scrap piece of paper before applying to your image to get the amount of ink just right.  Be sure your brush has no colour on it before you use it to blend out.  Be sure it isn't too wet.  If you go outside the line, use a damp brush to clean up the area - and push the ink back into the image.


Now I leave that base coat to dry a little and move onto the hair.  I apply some antique linen as a base coat for the hair.  Later I'll add some brushed corduroy and some scattered straw.  Also a little mustard seed for some brightness on the crown of her head.  You can use any of the browns that you like - or the light yellows - give them a try!


Now I go back and apply a second coat of tea dye to the face and blend it out.  I also apply little dots of tattered rose to the cheeks.


Then I go back to the hair, add some browns, and blend then out with some more antique linen.


Now, I apply some "dried marigold" to the shirt.

Here it is blended out.

Then, I finish up the blouse with "spiced marmalade".

I use some "spiced marmalade" to give shadows on the blouse.


For the jeans, I've used "faded jeans".

And also a little bit of "crushed olive" on the bum, to make them look "lived in" and worn.  I used "chipped sapphire" for the shadow areas.

I've also gone back and touched up the hair with some "vintage photo" around the hairline, and a little "mustard seed" on the crown.

I've used "brushed corduroy" for the soles of the shoes, and "dried marigold" for the frilly sock.

I've finished up the shoes with "antique linen".  I've used "weathered wood" for the outline and "brushed corduroy" for the shadow.  I've also overlaid some "brushed corduroy" on the shadows of the pants & the blouse.  I dabbed some "dried marigold" on the hair bows.

And here she is!


I hope you enjoyed my little pictorial.  Here are a few more little tips & tricks for you.

1.  use two colours per area, a light and a dark.  i.e. "dried marigold" and "spiced marmalade" or "faded jeans" with "chipped sapphire".

2.  use a brown shade to apply a deep shadow - here I've used "brushed corduroy" over the orange blouse and the blue jeans.

3.  give the base coat time to dry before applying the shadow for more depth.